Expert Tips for Flawless Drywall Installation
Are you embarking on a drywall installation project and aiming for a flawless result? Look no further! In this expert guide, we will delve into the essential steps and techniques to achieve a seamless finish in your drywall installation endeavors. From laying the groundwork with proper preparation to mastering the art of finishing touches, we've got you covered with insider tips and tricks to elevate your skills. Whether you're a seasoned DIY enthusiast or a beginner looking to enhance your craftsmanship, this blog post is your go-to resource for everything drywall installation. Discover the must-have tools of the trade, expert techniques for seamless seams, and invaluable advice on avoiding common pitfalls. Get ready to elevate your drywall game and achieve picture-perfect results with our comprehensive guide
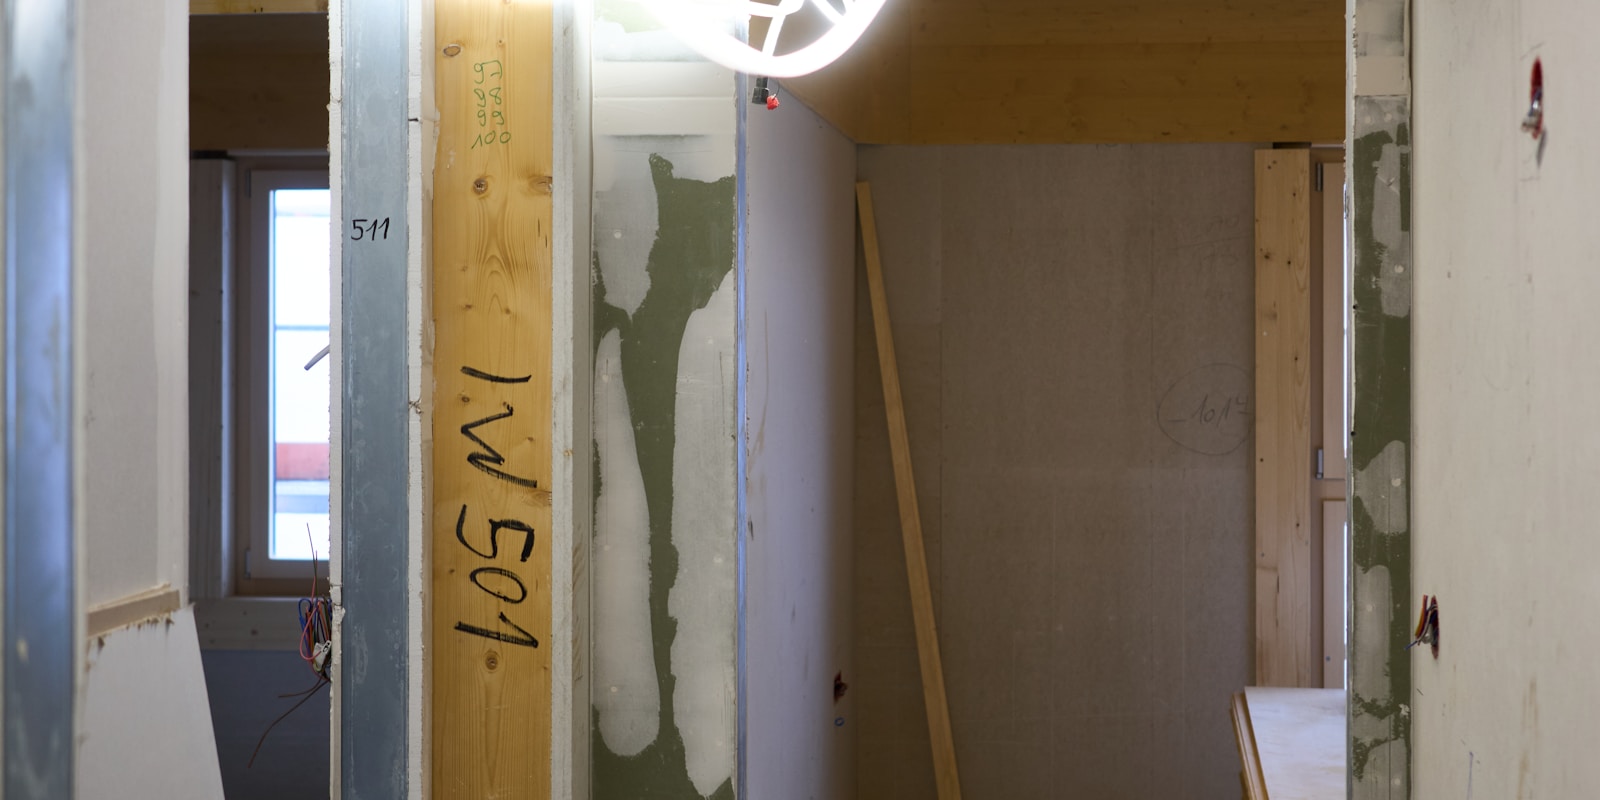
Proper Preparation: Setting the Foundation for Successful Drywall Installation
Before diving into the process of drywall installation, it is crucial to understand the importance of proper preparation. Setting the foundation correctly can make a significant difference in the outcome of your drywall project. Here are some expert tips to ensure flawless drywall installation: 1. **Room Preparation**: Clear the room of any furniture, fixtures, and debris to provide a clean and spacious working area. Cover floors and any remaining items with drop cloths to protect them from dust and debris during the installation process. 2. **Inspect the Framing**: Before installing drywall, inspect the framing for any damages, irregularities, or protruding nails. Addressing these issues beforehand will help ensure a smooth and even surface for the drywall installation. 3. **Measure Twice, Cut Once**: Accurate measurements are key to a successful drywall installation. Double-check the dimensions of the walls and ceiling before cutting the drywall sheets to avoid costly mistakes and wastage. 4. **Use the Right Tools**: Invest in high-quality tools such as a drywall T-square, utility knife, drywall screws, and a screw gun to facilitate the installation process. Having the right tools at your disposal will make the task easier and more efficient. 5. **Drywall Layout Planning**: Plan the layout of the drywall sheets to minimize waste and reduce the number of cuts required. Start installing drywall sheets from the ceiling down to ensure a seamless finish and avoid visible seams. 6. **Secure the Drywall Properly**: Use the appropriate type and length of screws to secure the drywall sheets firmly to the framing. Follow the recommended spacing guidelines to prevent sagging or bulging of the drywall over time. 7. **Tape and Mud Joints**: Pay attention to taping and mudding the joints between drywall sheets to create a smooth and seamless surface. Apply multiple layers of joint compound and feather the edges carefully to blend them with the rest of the drywall. By following these expert tips for proper preparation, you can set a strong foundation for a successful drywall installation project. Taking the time to prepare adequately and execute each step with precision will result in a flawless finish that enhances the overall appearance of your space
Seamless Seams: Techniques for Achieving Flawless Joints in Drywall Installation
One crucial aspect of achieving a professional-looking drywall installation is mastering the art of seamlessly blending joints. Here are some expert techniques to help you achieve flawless joints in your drywall installation project: 1. **Proper Taping**: Start by applying a high-quality drywall tape to cover the joints between the drywall panels. Mesh tape is durable and easy to work with, while paper tape is thinner and requires careful embedding in joint compound. Whichever tape you choose, ensure it is firmly pressed into the compound to create a flat surface. 2. **Smooth Feathering**: Feathering refers to the technique of gradually tapering joint compound away from the joint, creating a smooth transition between the seam and the drywall surface. Use a wide taping knife to feather out the joint compound, blending it seamlessly with the surrounding area. Remember to feather both sides of the joint for a professional finish. 3. **Layering Joint Compound**: To achieve a flawless joint, apply multiple thin layers of joint compound rather than one thick layer. This will help prevent cracking and shrinkage as the compound dries. Allow each layer to dry completely before applying the next, and sand lightly between coats for a smooth finish. 4. **Sand with Care**: Proper sanding is key to achieving a seamless seam. Use a fine-grit sandpaper to gently smooth out the joint compound, being careful not to oversand and expose the tape. Feather the edges of the sanded area to blend it with the rest of the wall seamlessly. 5. **Use Proper Lighting**: Adequate lighting is essential for spotting imperfections in your joints. Shine a light parallel to the wall to cast shadows across the surface, highlighting any bumps or depressions that need to be addressed. Regularly inspect your work under different angles of light to ensure a flawless finish. By implementing these expert techniques and paying attention to detail, you can achieve seamless seams and flawless joints in your drywall installation, resulting in a professional-looking finish that will enhance the overall aesthetics of your space
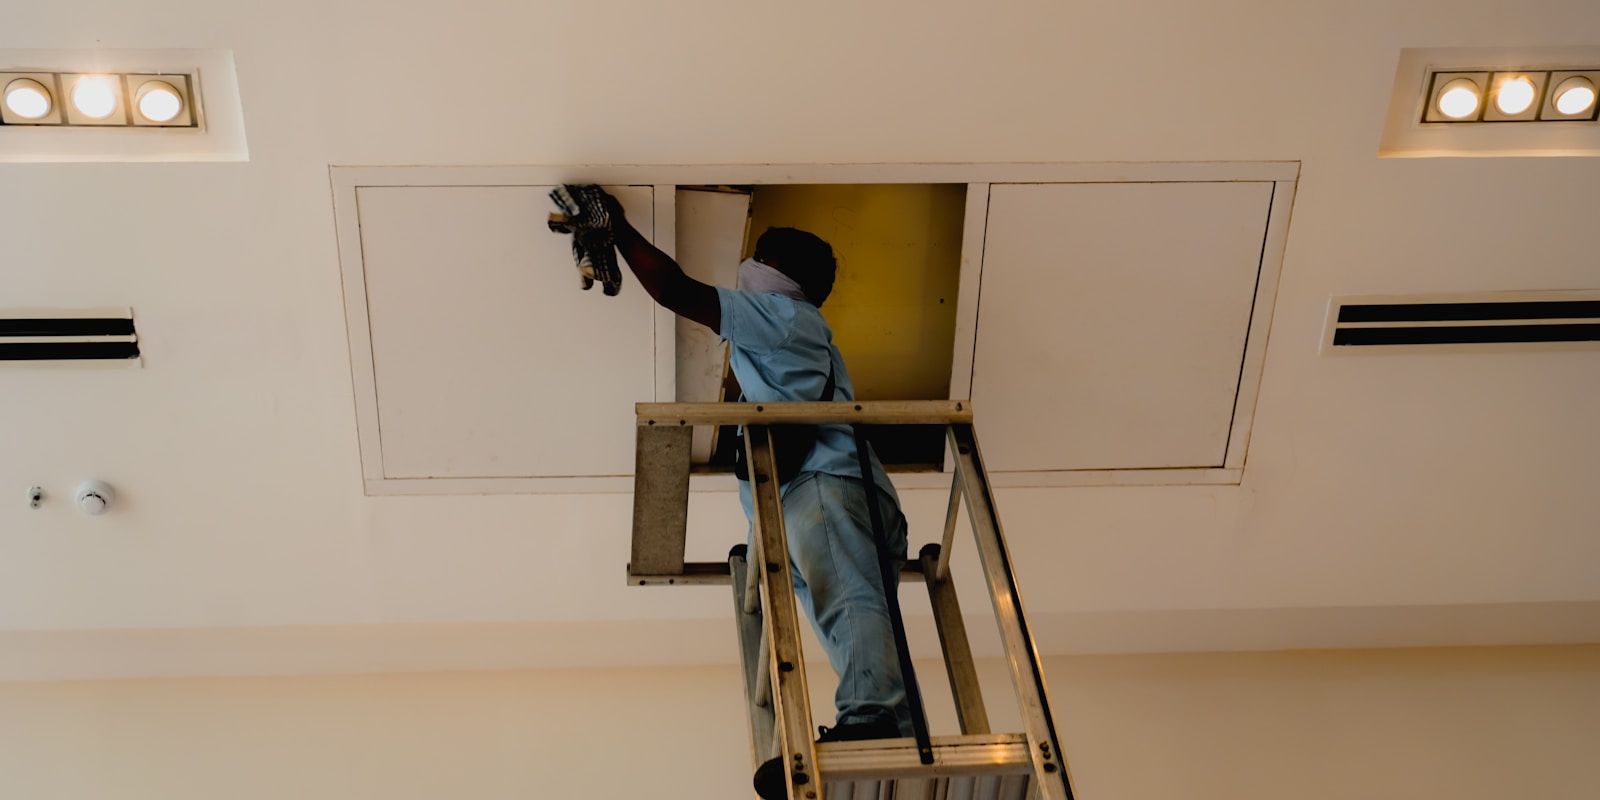
Tools of the Trade: Must-Have Equipment for Effortless Drywall Installation
When it comes to achieving a flawless drywall installation, having the right tools at your disposal can make all the difference. Let's dive into a detailed discussion on the essential equipment you need to ensure a seamless and effortless drywall installation process. 1. **Tape Measure and Level**: Accurate measurements are crucial for ensuring that the drywall fits perfectly in place. A tape measure will help you determine the dimensions of the walls or ceiling you are working on, while a level ensures that the drywall is installed straight and even. 2. **Utility Knife and Cutting Tools**: Cutting drywall panels to the correct size and shape is a fundamental part of the installation process. A sharp utility knife or a drywall saw will help you make precise cuts with ease. 3. **Screw Gun and Screws**: Securing the drywall to the studs requires a screw gun and the appropriate screws. Opt for a screw gun with an adjustable depth setting to ensure that the screws are driven in flush with the drywall surface. 4. **Drywall T-Square**: A T-square is essential for marking and cutting straight lines on the drywall. It helps you achieve clean cuts and precise edges, especially when working on larger panels. 5. **Drywall Lift or Panel Hoist**: Installing drywall on ceilings can be physically demanding. A drywall lift or panel hoist can save you time and effort by holding the drywall in place while you secure it to the ceiling. 6. **Mud Pans and Taping Knives**: After the drywall is installed, mudding and taping are necessary to create a seamless surface. Mud pans and taping knives are essential for applying joint compound and tape, smoothing out imperfections, and feathering the edges. 7. **Sanding Tools**: Once the joint compound is dry, sanding is required to achieve a smooth finish. A sanding block or pole sander can help you prepare the drywall surface for painting or finishing touches. 8. **Safety Gear**: Don't forget to prioritize safety during the installation process. Safety goggles, gloves, and a dust mask are essential protective gear to keep you safe from dust and potential injuries. By investing in the right tools and equipment for your drywall installation project, you can streamline the process and achieve professional results. Remember, having the proper tools not only makes the job easier but also ensures that your drywall installation is flawless and long-lasting
Finishing Touches: Tips for a Professional Finish in Drywall Installation
Achieving a flawless finish in drywall installation is crucial to the overall appearance of a room. While the initial steps of hanging and taping the drywall are important, it's the finishing touches that truly make the difference in achieving a professional result. Here are some expert tips to help you achieve a polished finish in your drywall installation project: 1. Sanding: Once the drywall compound has dried, sanding is essential to create a smooth surface. Use fine-grit sandpaper to feather the edges of the joints and blend them seamlessly into the rest of the wall. Be sure to sand lightly to avoid removing too much compound and creating an uneven surface. 2. Feathering: To achieve a seamless finish, feather the edges of the joint compound beyond the taped areas. This technique helps to blend the edges with the rest of the wall, creating a smooth transition that is less noticeable once painted. 3. Priming: Before painting, be sure to prime the drywall to create a uniform surface and ensure proper adhesion of the paint. Primer also helps to seal the drywall, preventing the paint from being absorbed unevenly and leading to a blotchy finish. 4. Paint selection: Choosing the right paint is also essential in achieving a professional finish. Opt for high-quality paint that is specifically designed for walls to ensure a smooth and durable result. Consider using a paint with a satin or eggshell finish for a polished look that is easy to clean. 5. Cutting in: When painting the edges and corners of the walls, use a high-quality brush to "cut in" before rolling the rest of the wall. This technique helps to create clean lines and ensures a professional finish throughout the room. By paying attention to these finishing touches and utilizing these expert tips, you can achieve a flawless and professional finish in your drywall installation project. Taking the time to perfect these details will result in a space that looks polished and well-crafted, adding value and sophistication to your home or project
Common Mistakes to Avoid in Drywall Installation for a Picture-Perfect Result
When it comes to achieving a flawless drywall installation, avoiding common mistakes is crucial. Even minor errors can lead to visible imperfections in your walls, disrupting the overall appeal of your space. To ensure a picture-perfect result, here are some expert tips to help you steer clear of these pitfalls: 1. **Inadequate Preparation**: One of the primary mistakes people make when installing drywall is rushing through the preparation phase. Failing to properly measure and cut the drywall sheets, ignoring the need for sufficient framing support, or overlooking the importance of eliminating debris and dust from the worksite can all compromise the quality of your installation. 2. **Poorly Taped Joints**: The seams where drywall sheets meet are vulnerable spots that require careful attention. Insufficient or improper taping can result in visible cracks and bulges once the walls are finished. Make sure to apply multiple thin layers of joint compound, feathering the edges to create seamless joints. 3. **Overlooking Sanding and Priming**: After taping and mudding, sanding the joints smooth is essential for a polished finish. Neglecting this step can lead to rough, uneven surfaces that detract from the overall appearance of the walls. Additionally, primer should not be skipped before painting, as it helps the paint adhere properly and ensures a uniform finish. 4. **Ignoring Moisture Control**: Moisture is a common enemy of drywall, as it can lead to mold growth, warping, and other issues. Failing to address moisture concerns before installation or neglecting to use moisture-resistant drywall in high-humidity areas can result in costly repairs down the line. 5. **Neglecting Acclimation Time**: Drywall needs time to acclimate to the environment in which it will be installed. Skipping this step can cause the drywall to expand or shrink after installation, leading to cracking and other defects. Allow the drywall sheets to sit in the room for at least 48 hours before installation to prevent these issues. By being mindful of these common mistakes and taking the time to execute your drywall installation with care and precision, you can achieve a flawless result that enhances the beauty and functionality of your space. Remember, attention to detail and a methodical approach are key to ensuring a picture-perfect finish that lasts for years to come
Conclusion
Conclusion: Mastering the art of drywall installation requires attention to detail, the right tools, and expert techniques. By following the essential steps outlined in this guide, from proper preparation to seamless finishing touches, you can elevate your skills and achieve flawless results. Remember to invest in quality tools, pay close attention to seam work, and avoid common pitfalls for a successful drywall installation project. Whether you're a seasoned DIY enthusiast or a beginner, this comprehensive guide equips you with the knowledge and insider tips needed to tackle any drywall project with confidence and precision. Start applying these expert tips today to take your drywall game to the next level!